This will be a short blog... I will let you kow what I have been doing without too much blerb... I think all this writting just gets in the way!
I think last time I finished with Springs? cant remember soooooo long ago... and yes again I have been slack in my keeping you up-to-date! (sorry)
 Anyway, I have done loads...
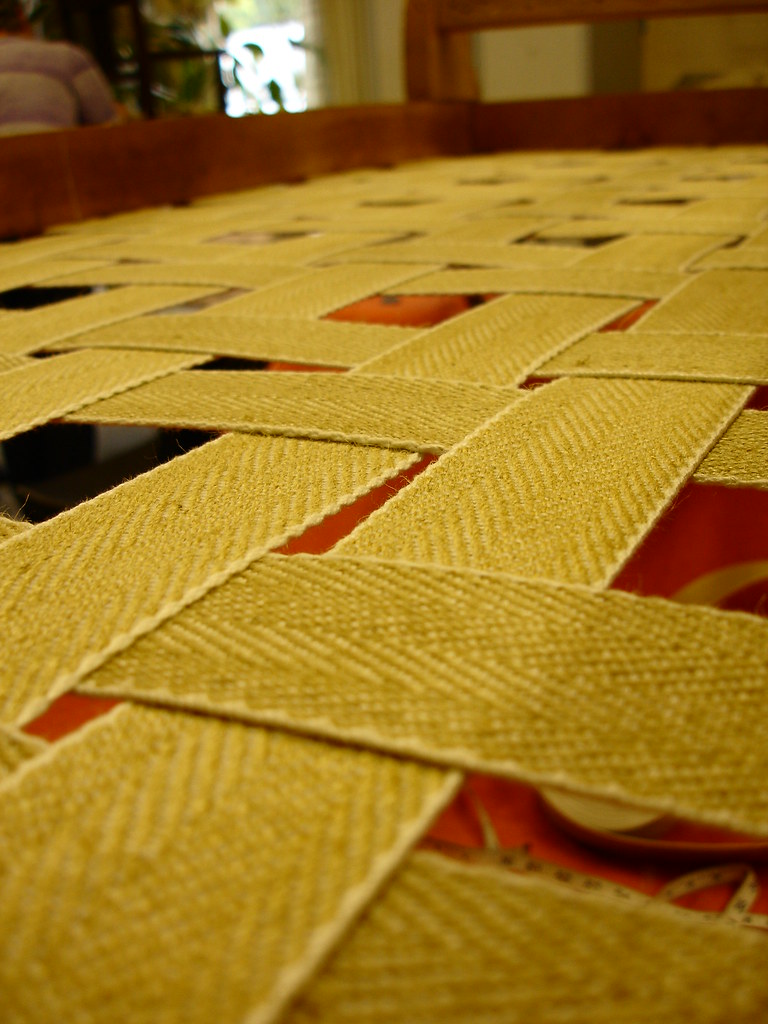
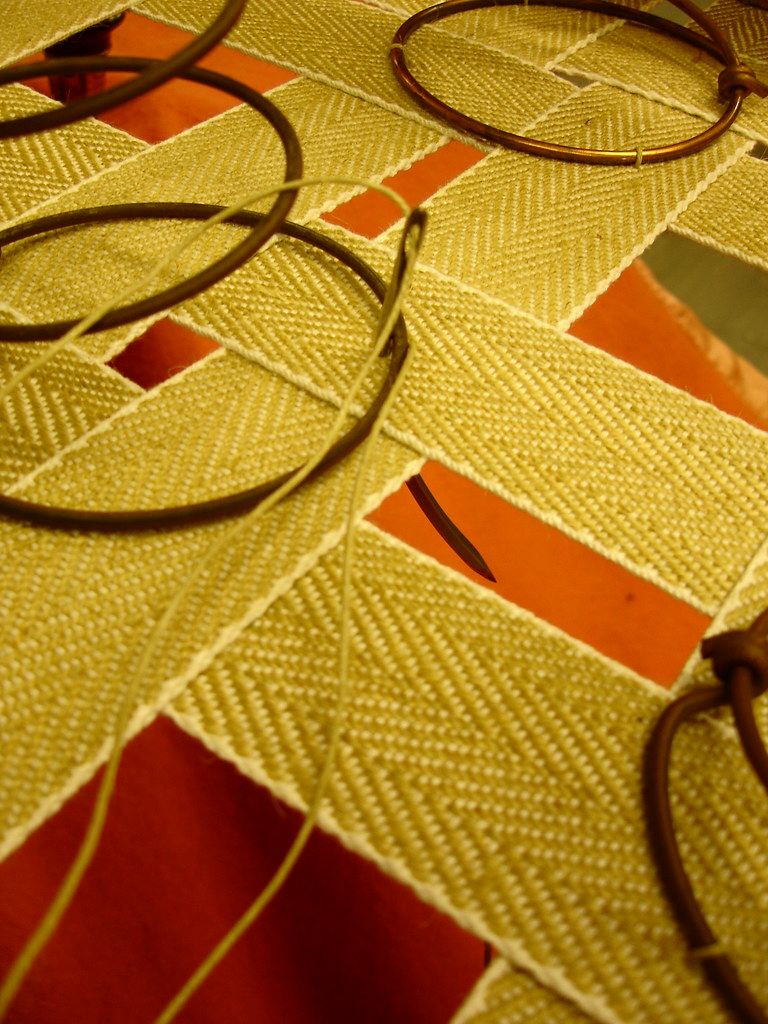
 The last pic you saw I think was... this one of the Coir going on
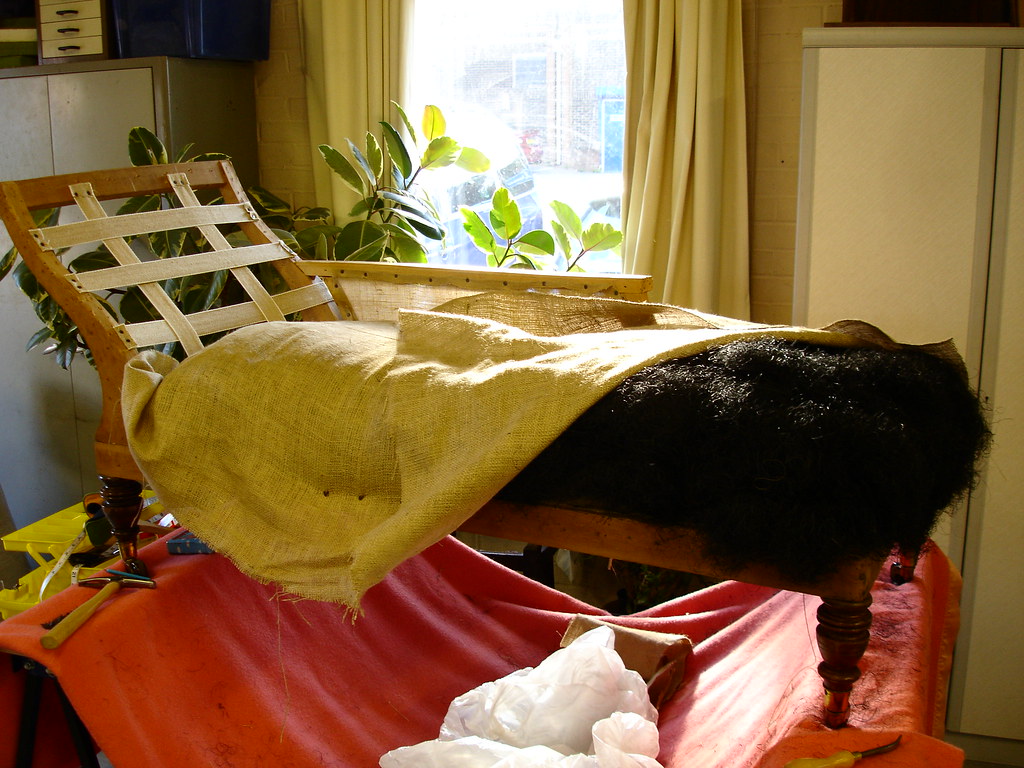
Well, as lot has happened since that photo! The Coir (over7lb's) was put on the chaise...
The centre of the seat was sewn through and tightened beyond belief.... and the sides then release so they could be stuffed more! 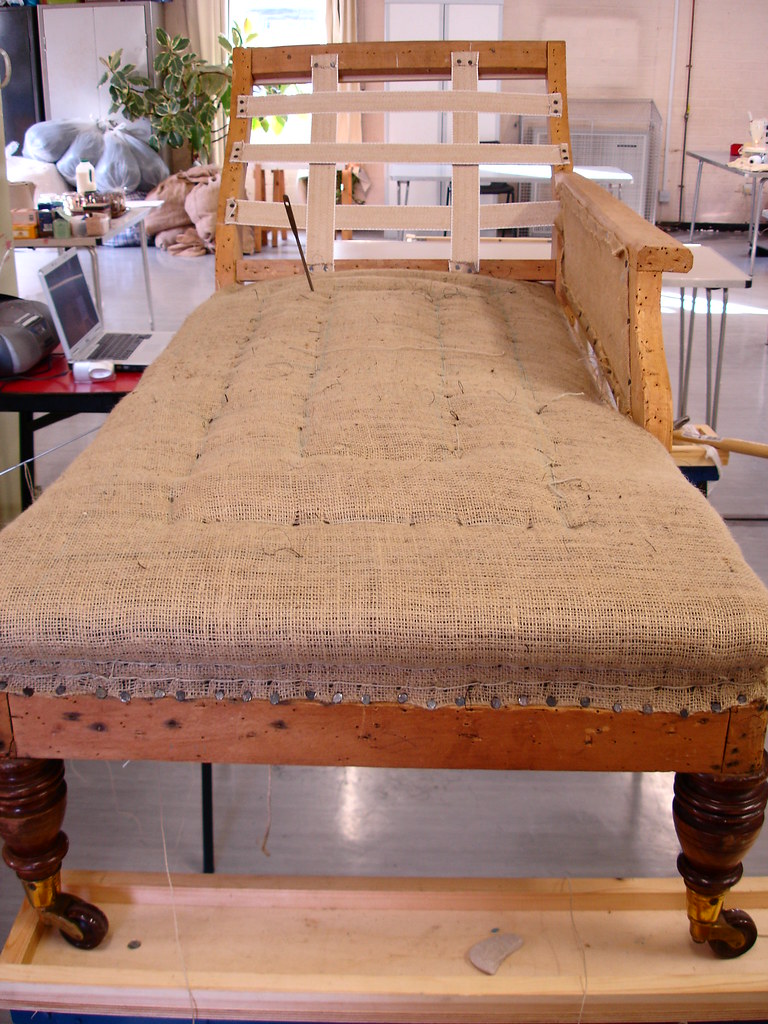 I then did three lots of the blind stitching to create a really straight edge up the side.. then it had the top roll stitching sewn in... and as you can see this is rather a large Chaise so this took quite some time.. but I am getting faster as I get more and more used to it!!
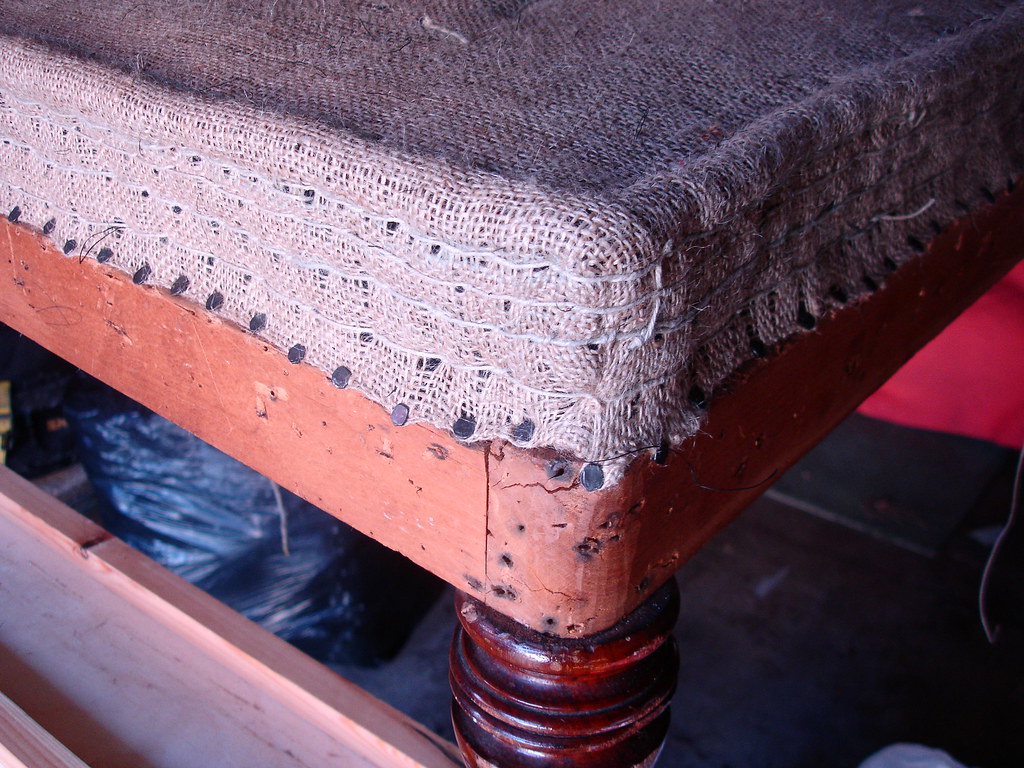
I then did three lots of the blind stitching to create a really straight edge up the side.. then it had the top roll stitching sewn in... and as you can see this is rather a large Chaise so this took quite some time.. but I am getting faster as I get more and more used to it!!The seat now looks like this...
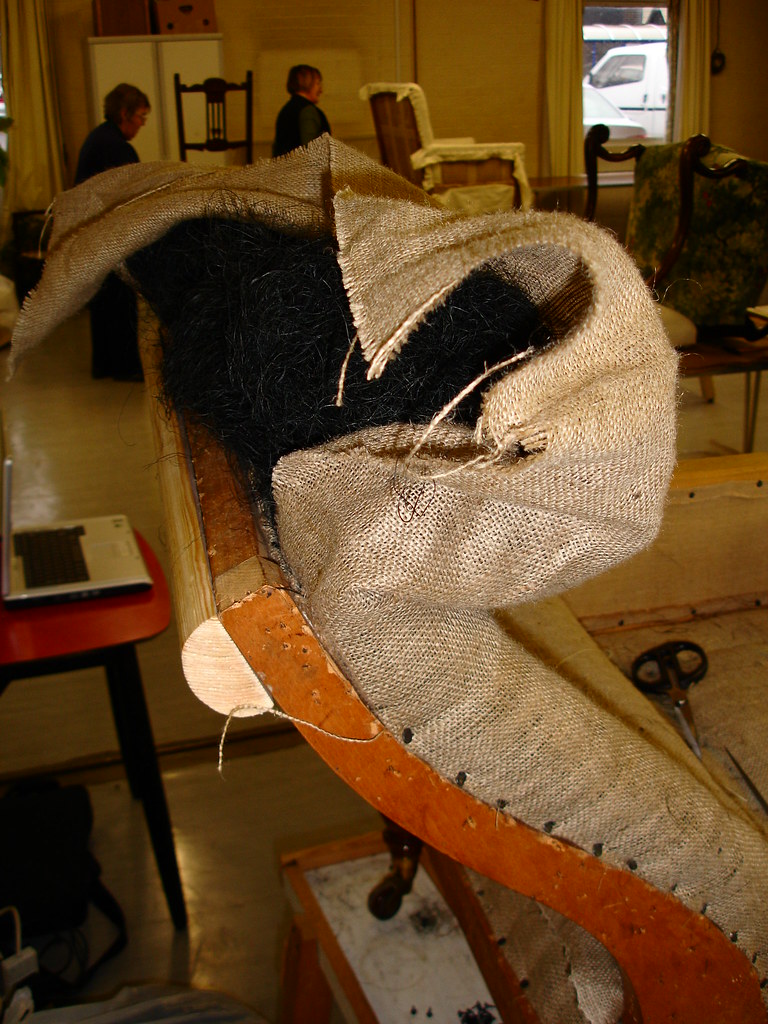
I have had to complete the same process on the arm (it didnt take too long)
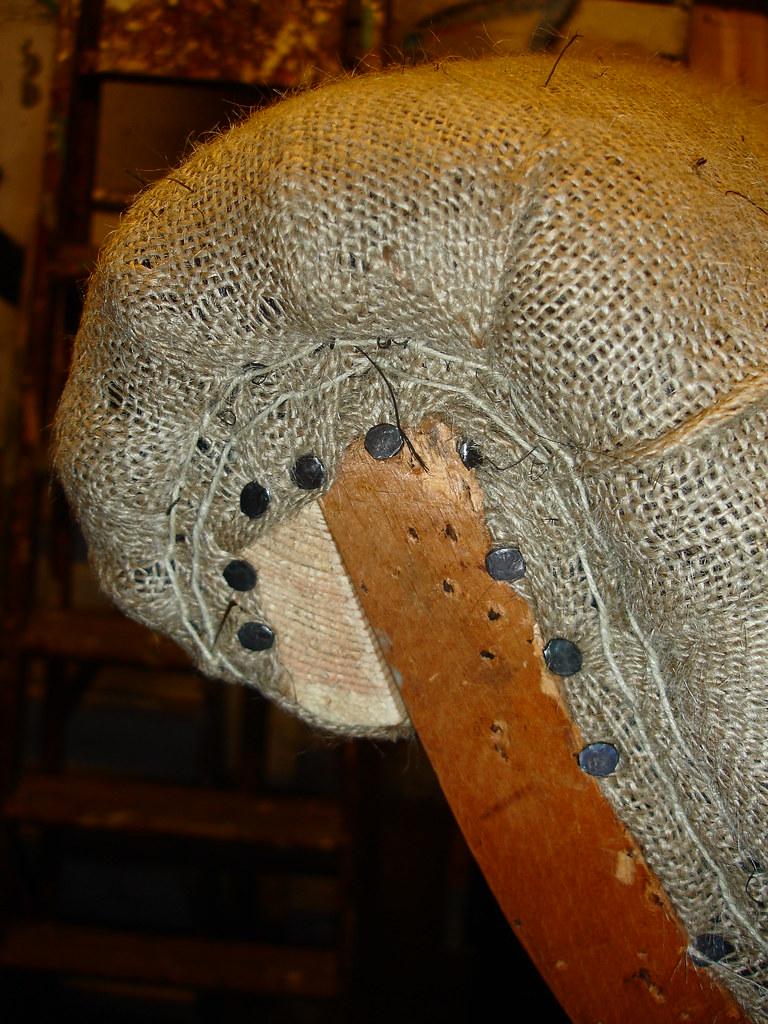
I then tackled the back.. this was different.. I hadnt ever done this before.. because you see the thing that is going to be a real headache is I am buttoning the back!! yes you heard it here first.. exclusive... buttons!!!
The Back then had to start a little different... the hessian went on over the webbing as normal.. but then I sewd another piece of hessian in the square to the centre... leaving a flat section! (see pic if you are confussed)
I then lifted all the sides and stuffed underneath and tacked down to create a back roll all the way round the edge without disturbing the centre - this is left flat so you can burtton!
This stuffing also had to have blind stitching and top roll to create shape... and curve (ooh, isnt that posh) 
 Now... from this point onwards it all got a bit too much... I didnt realise that buttons were so much work.... I marked out by sewing cotton wadding on places where the buttons were going to go.. and then did a lot of bridal ties to keep all the hair in place... I did go a little over the top with
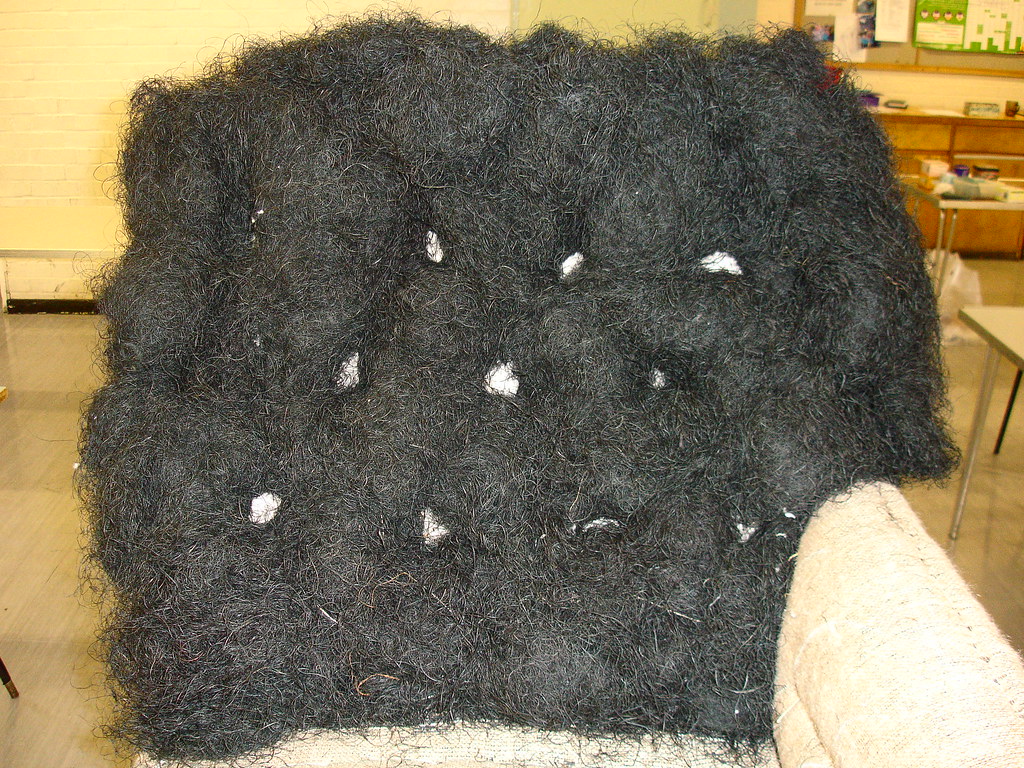 this!
this!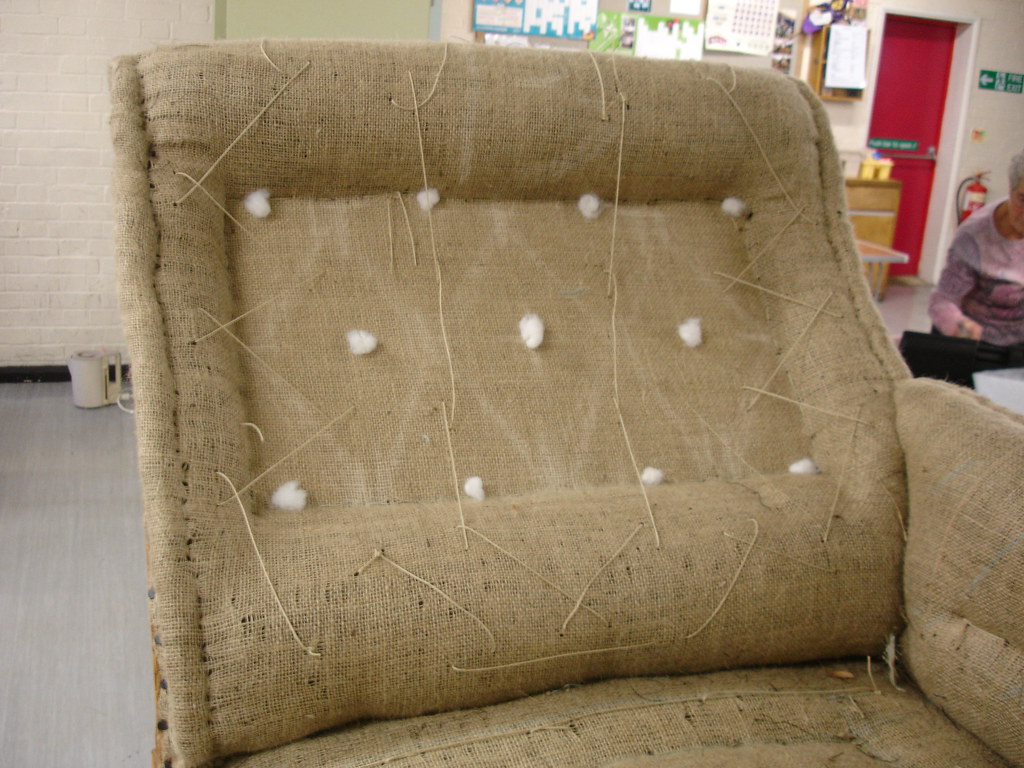
 Well... after saying this would be a short blog... it has turned out to be quite large after all!
 I will let you all know what happens next... it's very exciting! but a lot or hard work.. and you get to see the infamous "Black Finger Nail"!!!
if you cant wait visit my Flickr
See you all soon darlings!mwah* mwah*
 Yes its a tidy frame! The centre bar is missing - all that remains or gave me any indication that it was there are the holes where it would have located - so I have had to put in a strengthening bar in the centre (sorry no picture....)


 It is amazing... and also a complete bi*ch to work with! Not only do you have to get the stripes to match up.. but you have to get them to be straight too.. and with this fabric being quite fine... all lumps, bumps, wiggles, anything that you would rather not be there gets exaggerated by 200%!!! great! (yes that is sarcasm) But I went ahead anyway as I knew this chair not only suited the fabric, but that it would look amazing covered with it!


 So these loopy stitches hold more hogs hair (ran out of the original horses hair).
  You tuck it all under these stitches and then place cotton wadding over this! Now… cotton wadding, this stuff is lovely! It comes in a huge roll which frankly I could fall asleep on anytime! It is sooooo nice!
  This then forms the second stuffing… it all gets held down in place with Calico… the most amazing fabric in the world! (well my world anyway!)
 I have to say that the Calico covering was a lot harder than I though it would be! I had to make sure I created the perfect shape for the chair and also have all the fabric stretched in the correct directions and held down tightly so no slipping of the stuffing occurred! It took a lot of time and patients but I got there in the end!


 it took a lot of time, and lots of snips into the fabric to smooth out the shape…
  you just have to work in three ways all the time and re-work sections you have already done until its all tight..
  then you have to work around the front section… tucking in pleats where necessary, and creating attractive curves!


